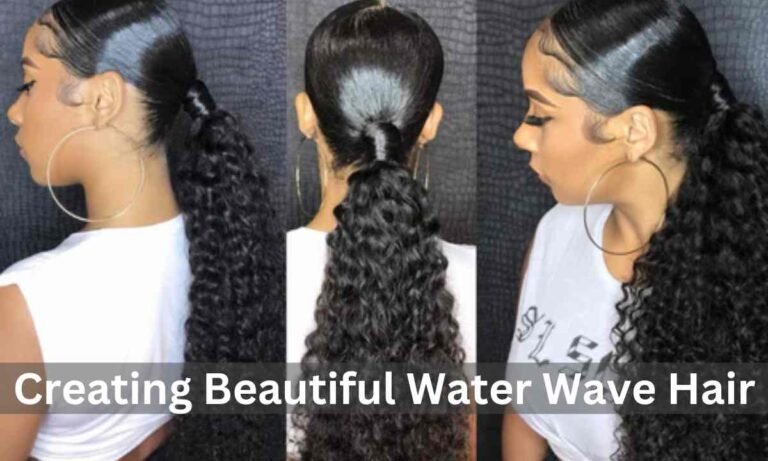
Water wave hair is a timeless and versatile style that enhances your look with soft, flowing waves. Whether you’re preparing for a special event or simply want everyday glam, this step-by-step tutorial will guide you through creating stunning water wave hair.
What You’ll Need
Before getting started, gather the following tools and products:
- Heat protectant spray
- Curling iron or wand (preferably 1-inch or smaller)
- Hair clips or sectioning clips
- Wide-tooth comb or detangling brush
- Lightweight styling mousse or curl cream
- Spray bottle with water (optional)
- Hairspray or finishing spray
Step 1: Prepare Your Hair
- Wash and Condition: Start with clean, damp hair. Use a sulfate-free shampoo and a moisturizing conditioner to keep your hair hydrated and ready for styling.
- Detangle: Gently detangle your hair using a wide-tooth comb or brush to remove knots. This step is essential for creating smooth and uniform waves.
- Apply Heat Protectant: Spray your hair with a heat protectant to minimize damage from hot tools. This is especially important if you’re using a curling iron or wand.
Step 2: Section Your Hair
Divide your hair into manageable sections. Use hair clips to separate the top and bottom layers. This will make it easier to work through each section evenly.
Step 3: Create the Waves
- Take Small Sections: Working with 1-inch sections of hair, start at the bottom layer.
- Use the Curling Iron or Wand: Wrap each section of hair around the curling iron or wand. Hold for 5-10 seconds, then release. For a more natural look, alternate the direction of the curls: curl some sections toward your face and others away.
- Loosen the Curls: After curling, gently run your fingers through each curl to loosen it. This will create a soft wave instead of a tight curl.
Step 4: Add Texture
- Apply Mousse or Curl Cream: To enhance the water wave effect, scrunch a lightweight styling mousse or curl cream into your hair. This will define the waves and add a natural shine.
- Spray with Water (Optional): If you’re working with dry hair, lightly mist it with water from a spray bottle before scrunching in the product. This helps achieve a more hydrated and bouncy wave.
Step 5: Style and Finish
- Blend Extensions or Wigs (if applicable): If you’re using water wave extensions or a wig, ensure they blend seamlessly with your natural hair by styling them in the same way.
- Set the Style: Finish with a light mist of hairspray or finishing spray to hold the waves in place. Avoid heavy products that can weigh the hair down.
- Fluff and Arrange: Use your fingers to fluff the hair and arrange the waves for a full and voluminous look.
Bonus Tips for Long-Lasting Water Waves
- Sleep with Care: Protect your waves overnight by wrapping your hair in a silk scarf or sleeping on a silk pillowcase.
- Refresh as Needed: To refresh your waves, lightly mist them with water and scrunch with a curl cream or mousse.
- Avoid Overstyling: Excessive heat can loosen the wave pattern over time, so limit the use of hot tools.
By following these simple steps, you can achieve gorgeous water wave hair that looks natural and flawless. Whether you’re attending a formal event, heading to the office, or just enjoying a casual day out, water wave hair is a versatile and stunning choice that’s sure to turn heads.