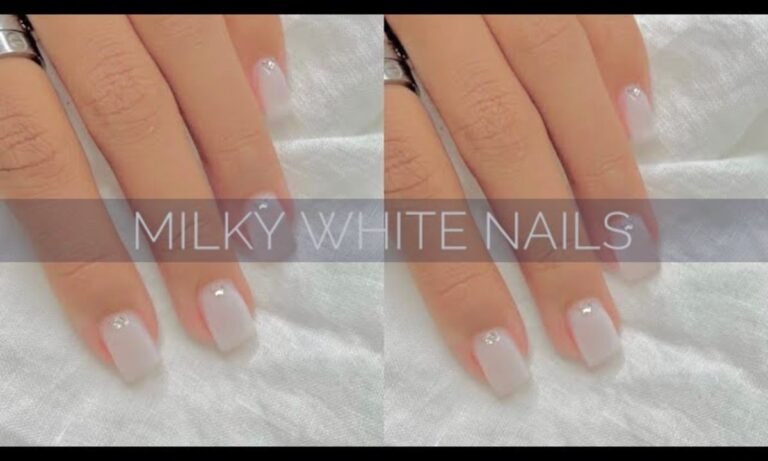
The timeless elegance of milky nails has taken the beauty world by storm. This subtle, semi-opaque manicure gives your nails a chic, clean, and sophisticated finish—perfect for any season. As a professional nail artist, I’m excited to guide you through the easiest way to achieve the milky nail appearance at home, without needing a salon visit.
Why Milky Nails Are So Popular
- Minimalist Aesthetic: A clean, soft look that complements any outfit.
- Versatility: Perfect for everyday wear, special events, or even as a wedding nail look.
- Enhances Nail Length & Shape: The soft opacity creates an illusion of longer, healthier nails.
What You’ll Need
Before we dive into the steps, gather these essentials:
- Nail file & buffer
- Cuticle pusher & nipper
- Base coat
- Sheer white or milky white nail polish (e.g., Essie’s “Marshmallow” or OPI’s “Funny Bunny”)
- Clear top coat
- Nail polish remover & cotton pads
- Optional: UV/LED lamp for gel polish
Step-by-Step Guide to Achieve Milky Nails at Home
Step 1: Prep Your Nails
Healthy nails are the foundation of any great manicure.
- Remove old polish using a gentle, acetone-free remover.
- Shape your nails with a nail file, almond or square shapes highlight milky nails beautifully.
- Push back and trim your cuticles for a clean nail bed.
- Buff the nail surface lightly to remove ridges and create a smooth canvas.
Step 2: Apply the Base Coat
A base coat not only protects your natural nails but also helps the polish adhere better.
- Apply a thin layer and let it dry completely.
Step 3: The Milky Magic — Apply the Sheer White Polish
This is where the milky nail effect starts to shine.
- First Coat: Apply a thin layer of sheer white polish. Don’t worry if it looks too translucent—it’s all about the build-up.
- Second Coat: Apply another thin layer. You should start seeing the creamy, milky effect.
- Optional Third Coat: For a richer, more opaque finish, add a third coat.
💡 Pro Tip: Use a light hand and long, even strokes to avoid streaks.
Step 4: Seal It with a Top Coat
A glossy top coat will enhance the milky effect and extend the life of your manicure.
- Apply generously and let it dry completely.
- For a gel-like finish, use a gel top coat and cure under a UV/LED lamp.
Step 5: Clean Up the Edges
Use a thin brush dipped in nail polish remover to clean around the cuticles for a salon-worthy look.
Bonus Tips for Perfect Milky Nails
✨ Mix It Up: Blend a drop of white polish with a clear base for a custom milky shade.
✨ Matte Magic: Apply a matte top coat for a soft, frosted look.
✨ Add Nail Art: Gold flakes, subtle glitter, or minimalist designs pair beautifully with milky nails.
✨ Go Gel for Longevity: If you want your milky nails to last longer (2-3 weeks), opt for gel polish and cure each layer under a UV/LED lamp.
Final Thoughts
The milky nail look is all about simplicity and elegance. With the right tools and a little patience, you can easily achieve this trending manicure at home. Plus, the versatility of milky nails means they’re perfect for every occasion—from casual days out to elegant soirées.
So, grab your polish and give your nails that dreamy, milky glow. 💅✨
Happy painting!
Thanks For Visiting Our Blog
For more insight Keep Visiting Valley News Magazine
Explore Our More Blogs
How to Use Gel Extensions with Semi-Cure Gel Nail Strips: A Step-by-Step Guide

